The quickest way to embed your models into web apps.

If you’re a data scientist or a machine learning engineer, you are probably reasonably confident in your ability to build models to solve real-world business problems. But how good are you at front-end web development? Can you build a visually appealing web application to showcase your models? Chances are, you may be a Python specialist, but not a front-end Javascript expert.
But thankfully, you don’t have to be one! Streamlit is a Python framework that makes it very easy for machine learning and data science practitioners to build web apps in pure Python. That’s right, you don’t even have to worry about HTML tags, Bootstrap components, or writing your own Javascript functions.
In this article, I will demonstrate how you can use Streamlit to quickly build a web app that showcases a text classification model.
Installing Streamlit
You can easily install Streamlit with pip using the command below.
pip install streamlit
Training a Text Classification Model
In this section, I will train a simple spam classification model that determines if a text message is spam. Since the main focus of this tutorial is demonstrating how to use Streamlit, I will include the code used to build this model with minimal comments. I used this Spam Classification Dataset from Kaggle to train a neural network for spam classification. The original dataset is available here as the SMS Spam Collection. You can find the full code for this tutorial on GitHub.
https://gist.github.com/AmolMavuduru/6f9da0a382fd41362da5cf0458bbc7de
The code above performs the following steps:
- Reads the spam dataset.
- Splits the spam dataset into training and testing sets.
- Creates a text preprocessing and deep learning pipeline for spam classification.
- Trains the model pipeline on the training set.
- Evaluates the model pipeline on the testing set.
- Saves the trained model pipeline.
Building a Streamlit App
In the same folder as the saved model pipeline, I created a file called streamlit_app.py and added code incrementally as demonstrated in the sections below. Refer to this GitHub repository if you want to see the full code for this tutorial.
Import Libraries
I imported the necessary libraries and modules, including Streamlit, needed to run this app as shown below.
import joblib
import re
from sklearn.neural_network import MLPClassifier
from sklearn.feature_extraction.text import TfidfVectorizer
import streamlit as st
Creating a Header
Now that we have imported Streamlit, we can quickly create a heading using Streamlit’s Markdown support.
st.write("# Spam Detection Engine")
To see the results of this code, we can run the following command.
streamlit run streamlit_app.py
Running the code and navigating to localhost:8501 gives us the following result.
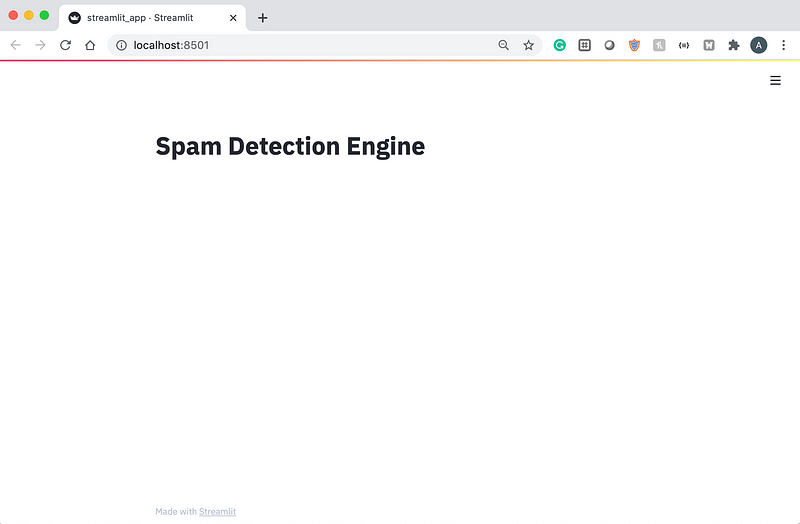
With just one line of code (not counting the import statements), you now have a running Streamlit app! Next, we can add some interactivity to the app with a text input field.
Adding Text Input
message_text = st.text_input("Enter a message for spam evaluation")
Refreshing the app page at localhost:8501 gives us a neat text input field under the heading.
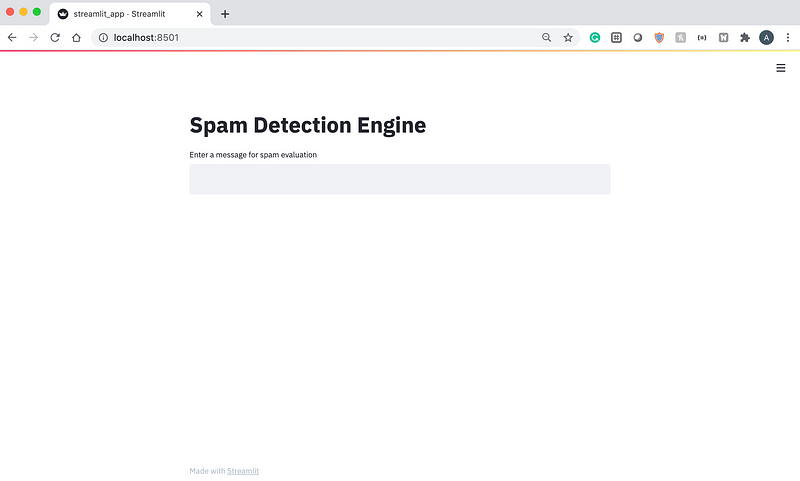
Now, we can add our trained spam classification model to the app.
Loading the Model
Before loading the model, I included the predefined text preprocessing function since this is a part of the saved model.
def preprocessor(text):
    text = re.sub('<[^>]*>', '', text)
    emoticons = re.findall('(?::|;|=)(?:-)?(?:\)|\(|D|P)', text)
    text = re.sub('[\W]+', ' ', text.lower()) + ' '.join(emoticons).replace('-', '')
    return text
model = joblib.load('spam_classifier.joblib')
Generating and Displaying Predictions
We can define a special function for returning both the label predicted by the model (spam or ham) and the probability of the message being spam as demonstrated below.
def classify_message(model, message):
  label = model.predict([message])[0]
  spam_prob = model.predict_proba([message])
return {'label': label, 'spam_probability': spam_prob[0][1]}
Using this function we can output the model’s predictions as a dictionary.
if message_text != '':
result = classify_message(model, message_text)
st.write(result)
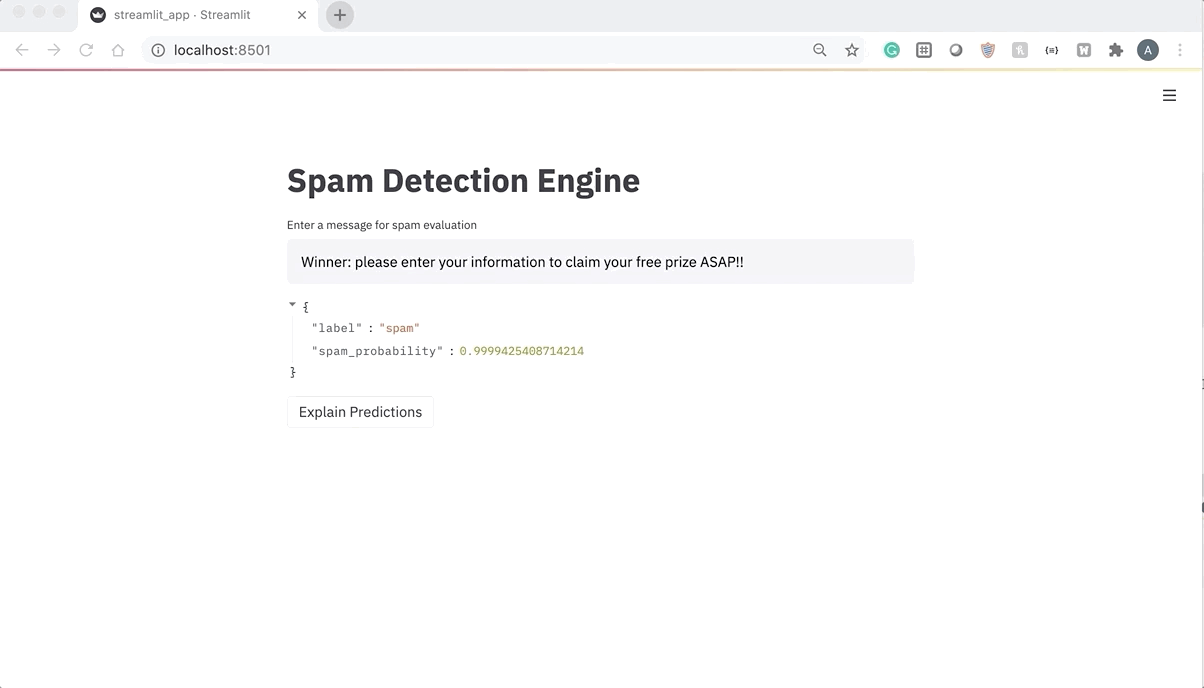
We can refresh the app again and pass in some sample text inputs. Let’s start with something that is obviously spam.

From the screenshot above, we can see that the model predicts that this message has a very high chance (99.98 percent) of being spam.
Now, let’s write a message about a doctor’s appointment and see if the model classifies it as spam or ham.
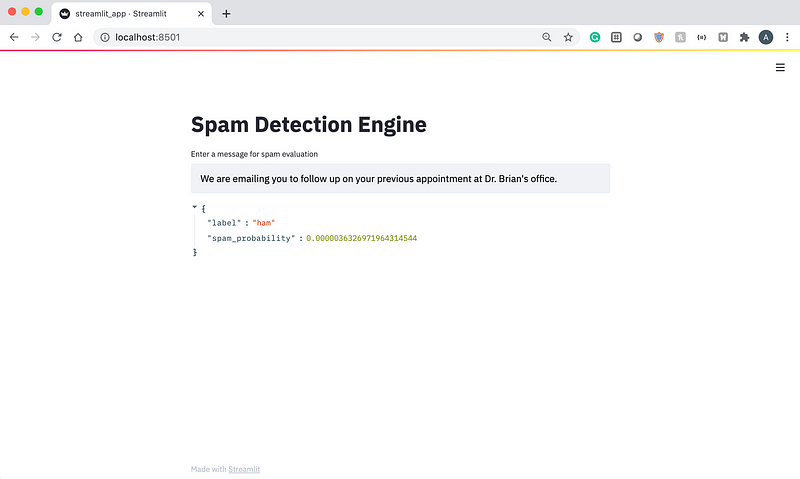
As we can see above, the message has a very low probability of being spam based on the predictions generated by the model.
Explaining the Predictions with LIME
We can add some explanations for the predictions generated by the model using LIME, a library for explainable machine learning. For an in-depth tutorial on how to use this library, take a look at my article about explainable machine learning below.
To use LIME and embed a LIME explanation in the web app, add the following import statements to the top of the code.
from lime.lime_text import LimeTextExplainer
import streamlit.components.v1 as components
The components module from Streamlit allows us to embed custom HTML components in the application. We can create a visualization with LIME and display it on a Streamlit app as an HTML component.
Next, we can add the following code at the end of the last if-block to create a button for explaining the model’s predictions.
explain_pred = st.button('Explain Predictions')
The value of the variable explain_pred will be set to True when the button is clicked on once. We can now generate a text explanation with LIME as demonstrated in the code below.
if explain_pred:
  with st.spinner('Generating explanations'):
   class_names = ['ham', 'spam']
   explainer = LimeTextExplainer(class_names=class_names)
   exp = explainer.explain_instance(message_text,
   model.predict_proba, num_features=10)
   components.html(exp.as_html(), height=800)
Refreshing the app allows us to generate explanations for the model’s predictions as shown in the GIF below. Notice how the LIME TextExplainer allows the user to understand why the model classified the message as spam by highlighting the most important words that the model used in its decision-making process.
At this point, the app is fully functional and can be used to showcase and explain the predictions generated by the spam classification model. Check out the full code for this app below.
https://gist.github.com/AmolMavuduru/4a5e4defee50ae448c7a2c107036584a
Additional Streamlit Capabilities
The app that I created in this article is definitely useful and can serve as a starting point for similar projects, but it only covers a few of the powerful features of Streamlit. Here are some additional features of Streamlit that you should definitely check out:
- Streamlit supports Markdown and Latex commands, allowing you to include equations in a web app.
- Streamlit allows you to display tables and pandas data frames with a single line of code.
- Streamlit allows you to display charts and visualizations from a wide range of libraries including Matplotlib, Bokeh, Pyplot, Pydeck, and even Graphviz.
- Streamlit allows you to easily display points on a map.
- Streamlit also supports embedding image, audio, and video files in your apps.
- Streamlit makes it easy to deploy open-source applications with Streamlit sharing.
To find out more about what Streamlit can do, check out the Streamlit documentation.
Summary
In this article, I demonstrated how you can use Streamlit to build a web app that showcases a simple text classification model in less than 50 lines of code. Streamlit is definitely a powerful, high-level tool that makes web development easy and simple for data scientists. As usual, you can find all the code for this article on GitHub.
Join My Mailing List
Do you want to get better at data science and machine learning? Do you want to stay up to date with the latest libraries, developments, and research in the data science and machine learning community?
Join my mailing list to get updates on my data science content. You’ll also get my free Step-By-Step Guide to Solving Machine Learning Problems when you sign up!
Sources
- T. A., Almedia and J. M. Gomez Hidalgo, SMS Spam Collection, (2011), Proceedings of the 2011 ACM Symposium on Document Engineering (DOCENG’11).
- Streamlit Inc., Streamlit Documentation, (2020), streamlit.io.